 Step 1
Prepare motorcycle
Clean the adhesive surfaces thoroughly and let them dry completely—only grease-free surfaces ensure the adhesive holds perfectly over time.

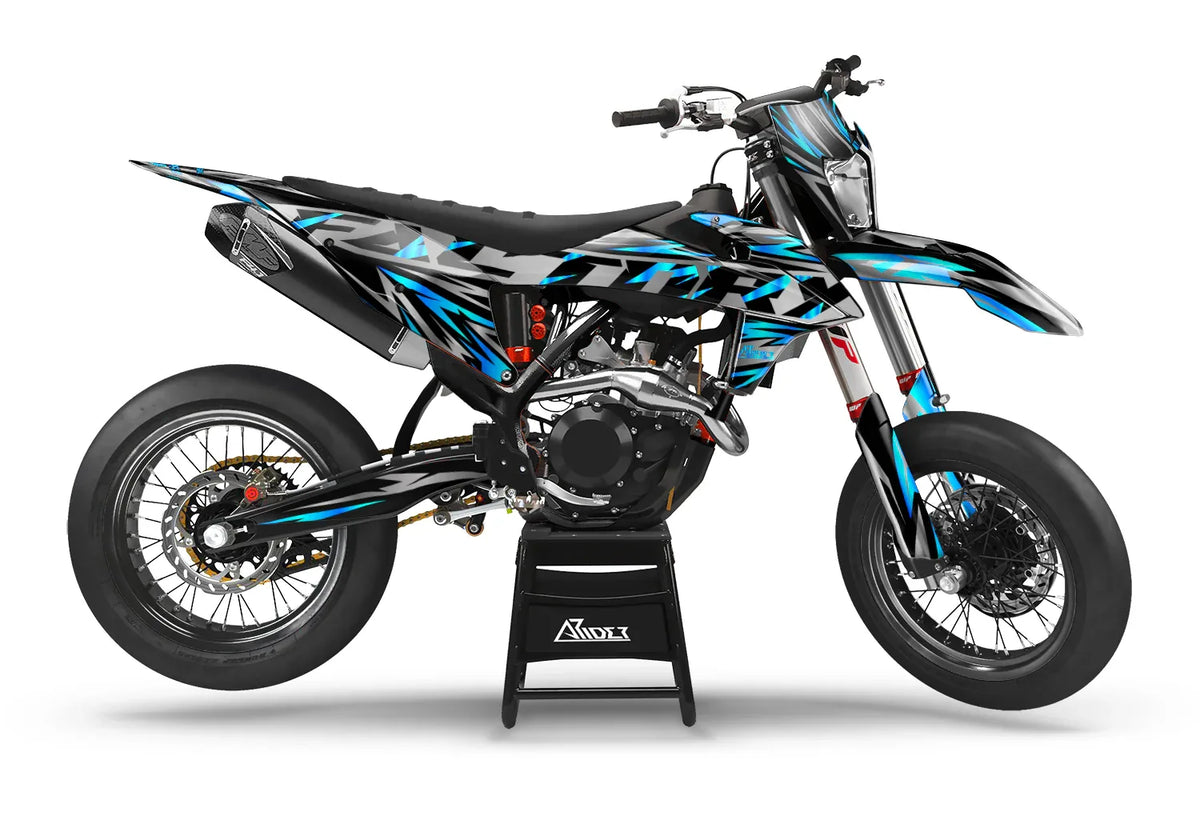
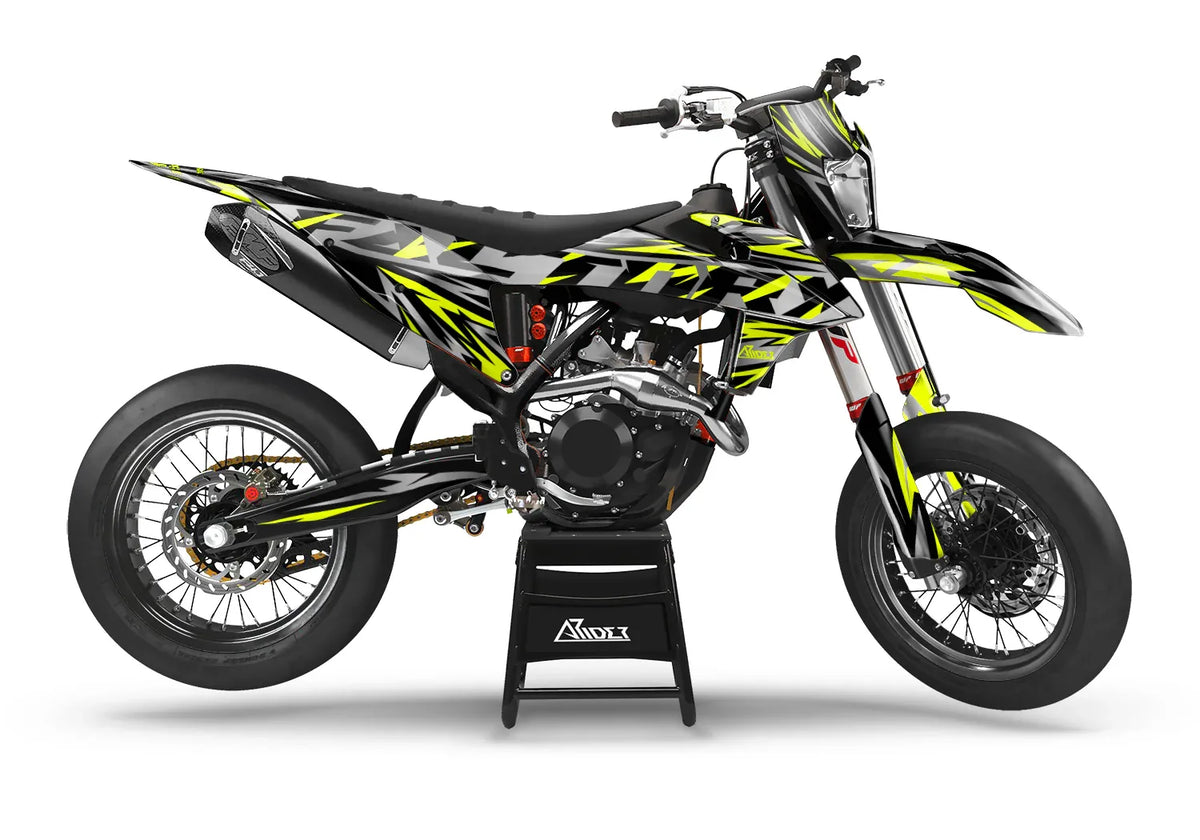
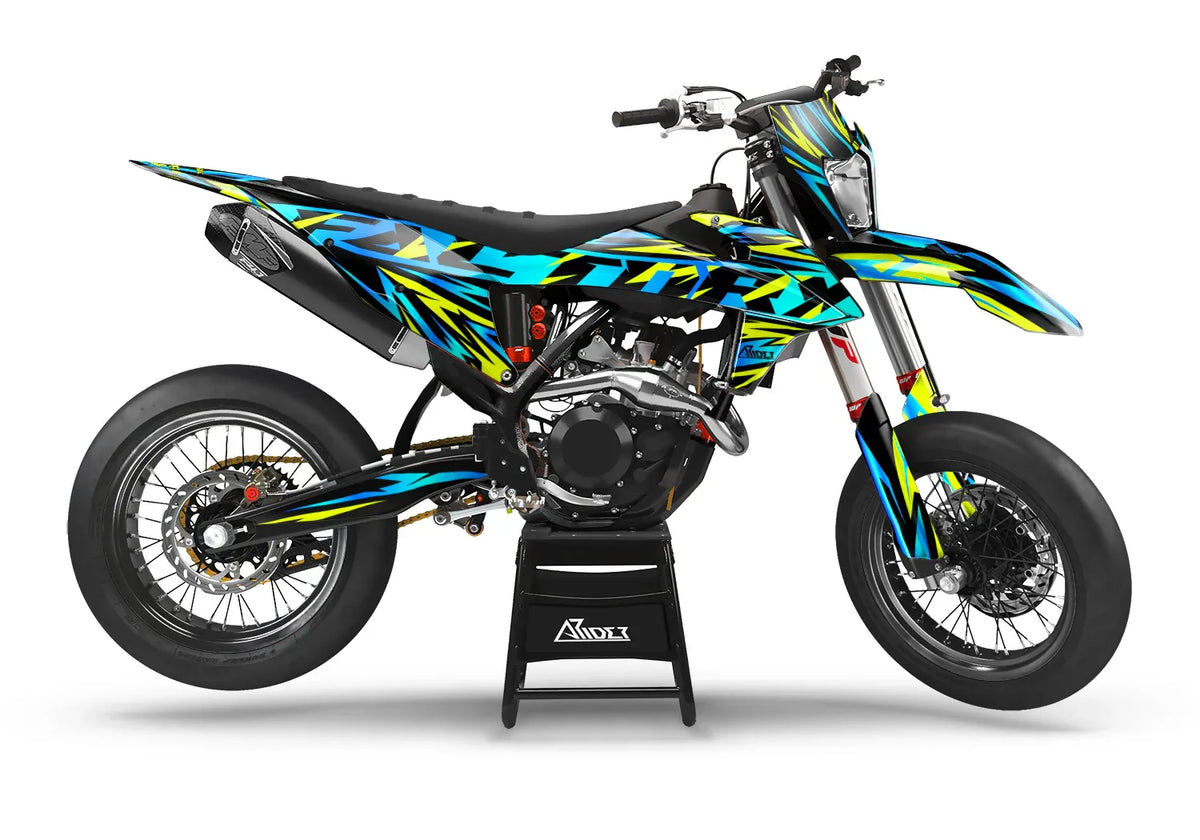
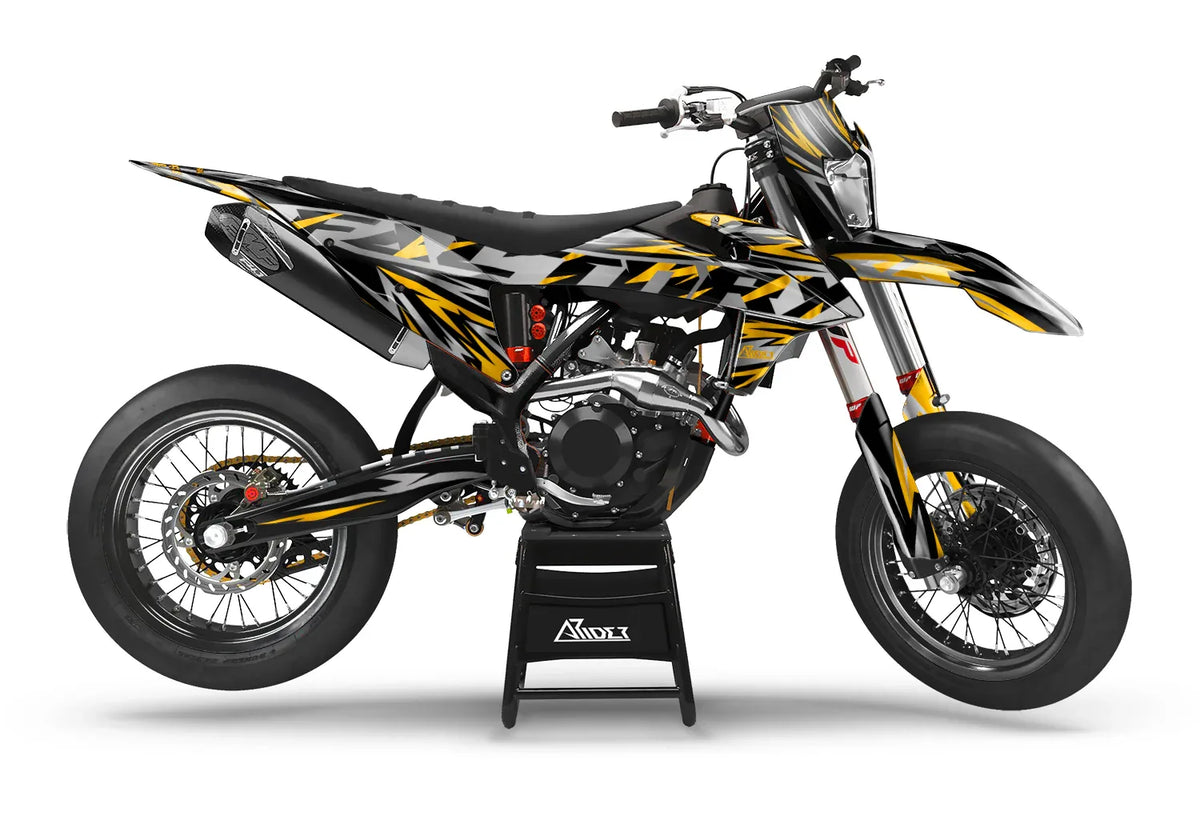


I was skeptical—but it actually looks even better on the motorcycle than on the website. Easy to apply, and the colors really pop.
Before printing, you’ll receive a draft from our designer for approval.
Choose your motorcycle first – design, extras and payment will unlock afterwards.
✓ We’ll review your details – if we can’t produce your model, we’ll of course refund the full amount.
Before printing, you’ll receive a draft from our designer for approval.
The film is the foundation of your decor
The laminate protects your Graphics Kit
With a deposit, the material surcharge is only charged with the balance after you approve the design.
Choose your motorcycle and we’ll show matching accessories.
Here you'll find the most frequently asked questions about our decors, shipping, and installation. Can't find what you're looking for? Write to our support team—we'll be happy to help you personally.
Contact us!
We’re here for you · Mon–Fri, 09:00–17:00 hrs
5 Questions
4 Questions
3 Questions
3 Questions
2 Questions
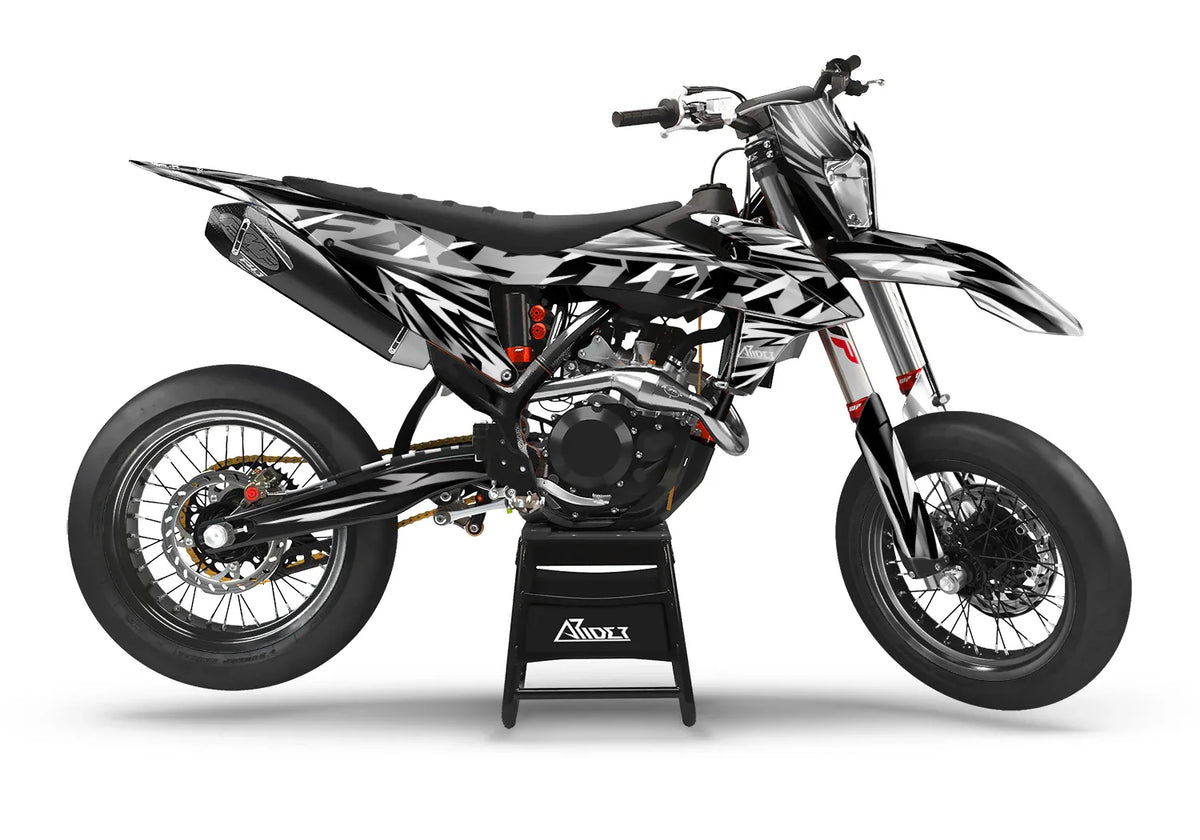
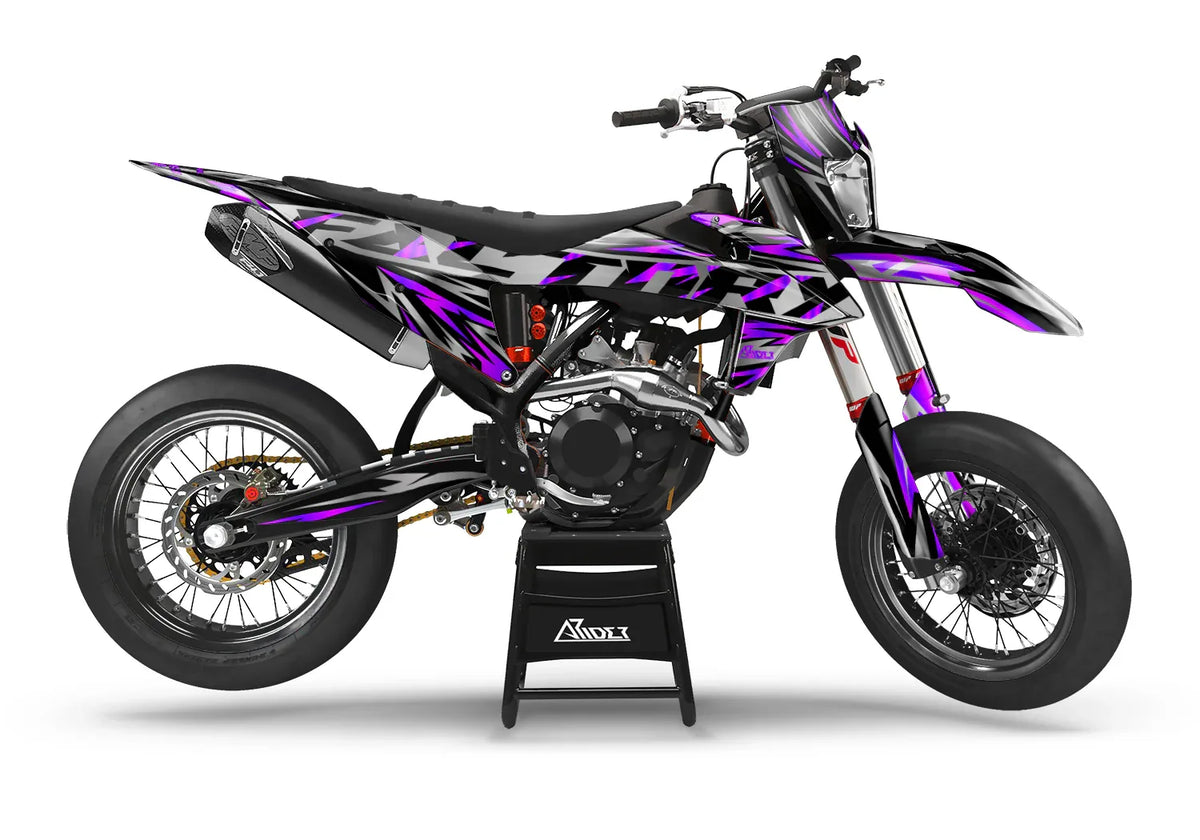
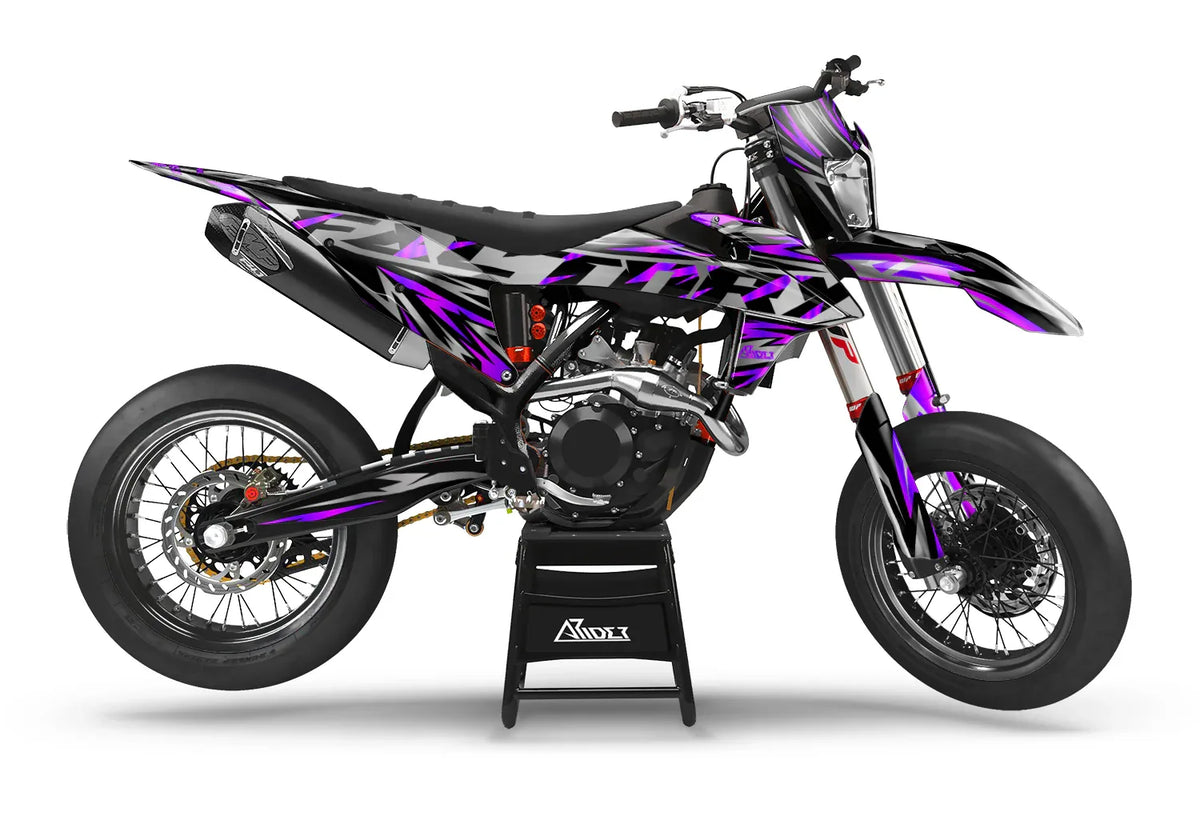
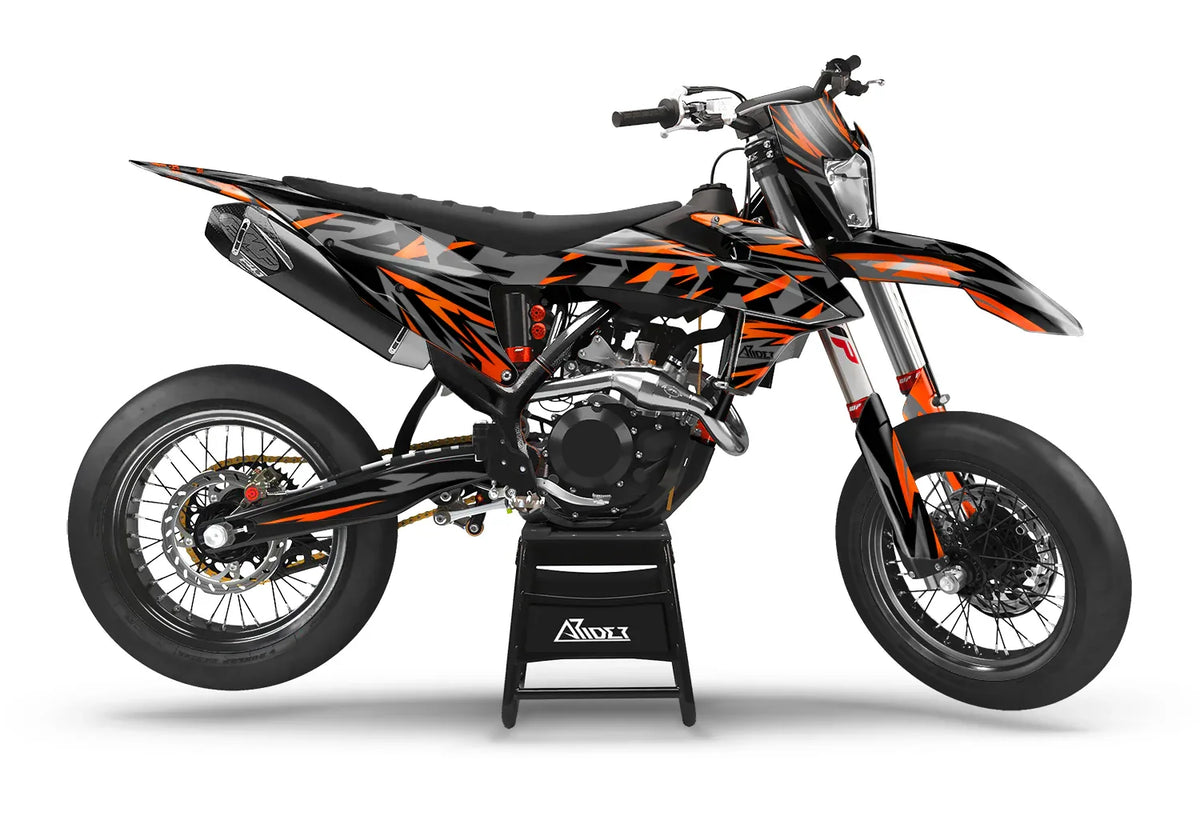
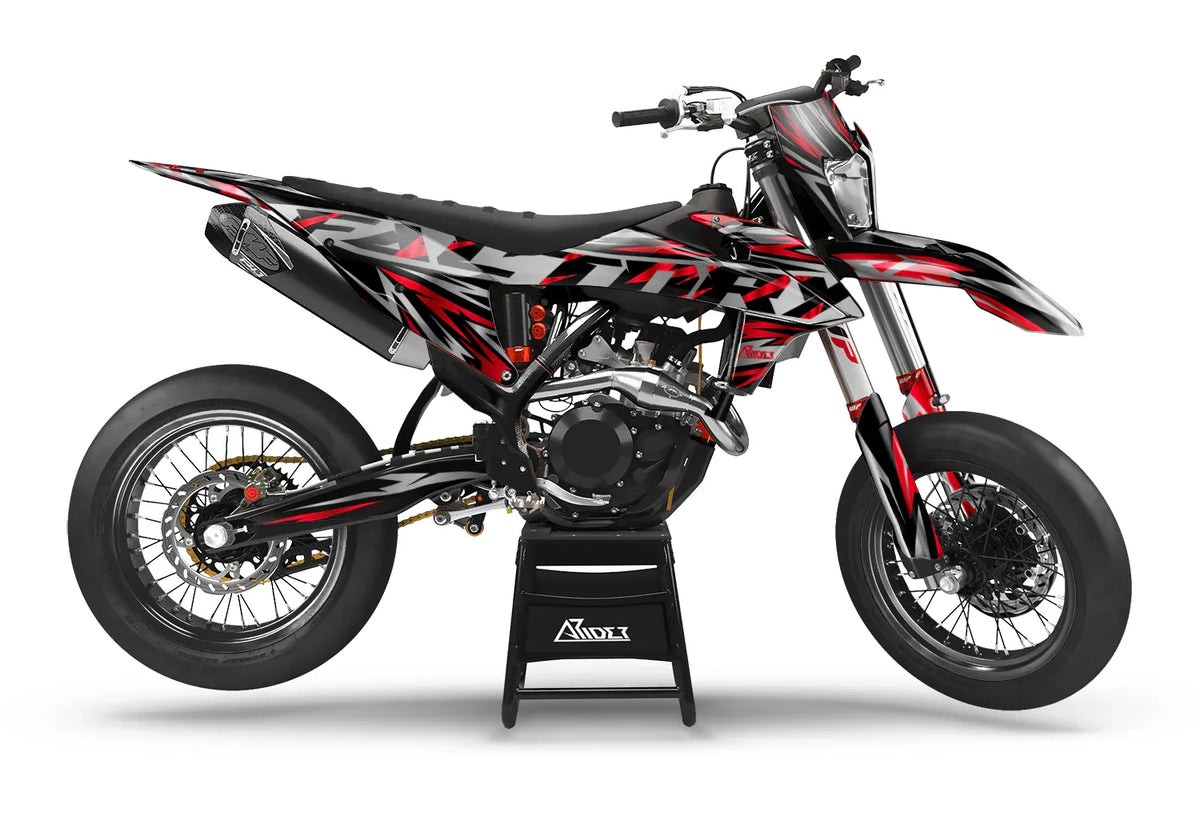
Give your bike a unique look with the Leap V2 Graphics Kit. This sticker set was specially designed to highlight the appearance of your motorcycle and give it a distinctive character. The precise fit ensures that the graphics kit integrates seamlessly into the contours of your bike.
Using high-quality materials guarantees not only an appealing look but also durability.
With various color options, you can give your bike the perfect expression. The bubble-free mounting technology makes application easy and ensures a flawless result.
Advantages & Features:
- Perfect fit through precise measurements
- Durable & sturdy for lasting protection
- Diverse color options for individual style
- Easy installation with bubble-free technique
- UV-resistant for long-term durability
Order now and take your bike’s design to a new level!
Looking for a different design? Here you will find all graphics kits suitable for KTM EXC Graphics Kit.
It protects the original paint, is easy to install, and can be removed without leaving any residue—more affordable and faster than painting.
We recommend a silver chrome or holo chrome film for an elegant metallic effect that suits almost any design. Add gloss lamination for a bold look or matte lamination for a more subtle appearance.
Not quite. The Graphics Kit fully and opaquely covers all the important bodywork parts of your motorcycle—precisely cut to fit your model. Fine transitions are visible between the parts, but they hardly detract from the overall look.
Several years with proper care. With intensive use, such as in motocross or on off-road tours, parts may wear out more quickly.
Our semi-custom designs offer the ideal balance between pre-designed styles and personalization. This way, you can achieve the perfect look for your motorcycle.
Colors, names, texts, logos, and race numbers.
Yes. Within 5–7 business days, you will receive a draft by email for review.
We’ll contact you by email to discuss your design. You can change it up to three times free of charge. Once everything looks right, we’ll print your Graphics Kit.
By default, 1–3 business days after the design is approved. The Graphics Kit then goes straight to shipping.
As long as production has not yet started, send us a quick message at support@arider.de.
As this is a custom-made product, returns are unfortunately not possible. Of course, we offer exchanges for damaged or incorrectly delivered parts.
Your package usually arrives within 5–10 business days.
Yes, we ship worldwide. Shipping costs are displayed at checkout.
As soon as your order has shipped, you’ll receive a tracking link by email.
No. Air channels in the adhesive layer allow our designs to be applied bubble-free. Step-by-step instructions are included.
Yes, at our workshop we offer professional installation by appointment.
All designs fit your model and model year exactly.


 +1
Peak - Graphics Kit
£145.00


 +1
Pine - Graphics Kit
£145.00


 +2
Vortex - Graphics Kit
£145.00


 +1
Beast - Graphics Kit
£145.00


 +9
Jokehock - Graphics Kit
£145.00


 +1
Glitch - Graphics Kit
£145.00


 +5
Impact - Graphics Kit
£145.00


 +2
RideOrDie - Graphics Kit
£145.00


 +3
Swifty V1 - Graphics Kit
£145.00


 Forge - Graphics Kit
£145.00


 +1
Ultra - Graphics Kit
£145.00


 +6
Duplex - Graphics Kit
£145.00


 Grip - Graphics Kit
£145.00


 +1
Edge - Graphics Kit
£145.00


 +2
Breeze - Graphics Kit
£145.00


 +3
Tobi V1 - Graphics Kit
£145.00


 +3
Freerider V1 - Graphics Kit
£145.00


 +1
Adventure - Graphics Kit
£145.00


 +5
Vault - Graphics Kit
£145.00


 Stream - Graphics Kit
£145.00


 +1
Core - Graphics Kit
£145.00


 +3
CXSLTY - Graphics Kit
£145.00


 Arrow - Graphics Kit
£145.00


 +3
Maex - Graphics Kit
£145.00
In 3 steps from delivery to a fully wrapped motorcycle – this is how the installation is guaranteed bubble-free.
Step 1Clean the adhesive surfaces thoroughly and let them dry completely—only grease-free surfaces ensure the adhesive holds perfectly over time.
 Step 2
Remove a small piece of backing paper at one corner, center the Graphics Kit, and press the corner firmly into place.
 Step 3
Apply from the inside out, carefully heat-wrap the edges first, and finally warm the entire Graphics Kit once more.
The film is the basis of your decoration. It determines the main effect.

Classic and versatile

Silver mirror effect

Futuristic holo look
The laminate is the protective top layer. It gives the Graphics Kit the desired finish.


