
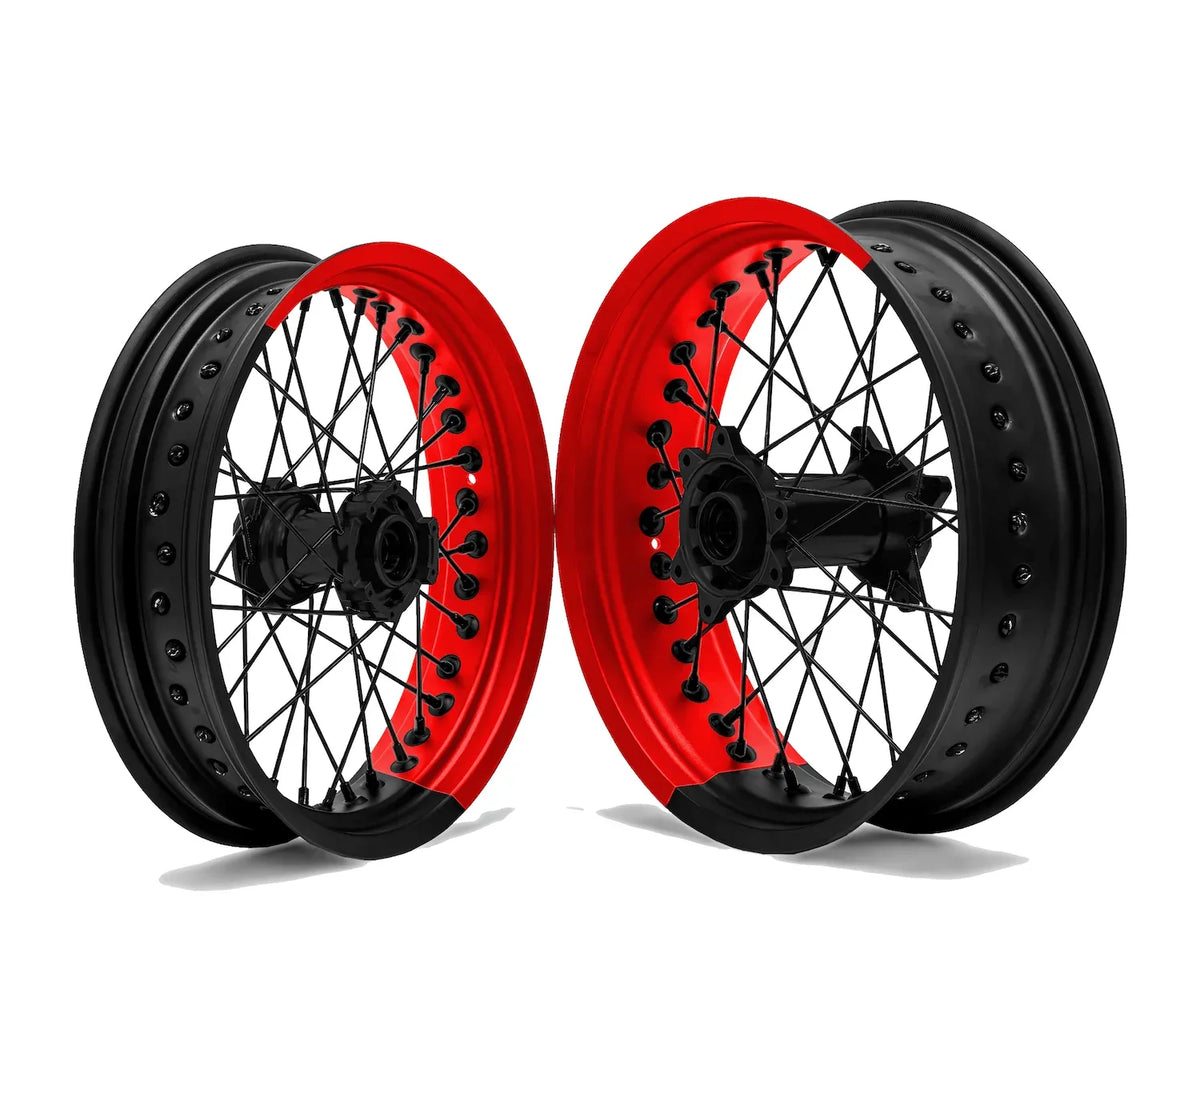
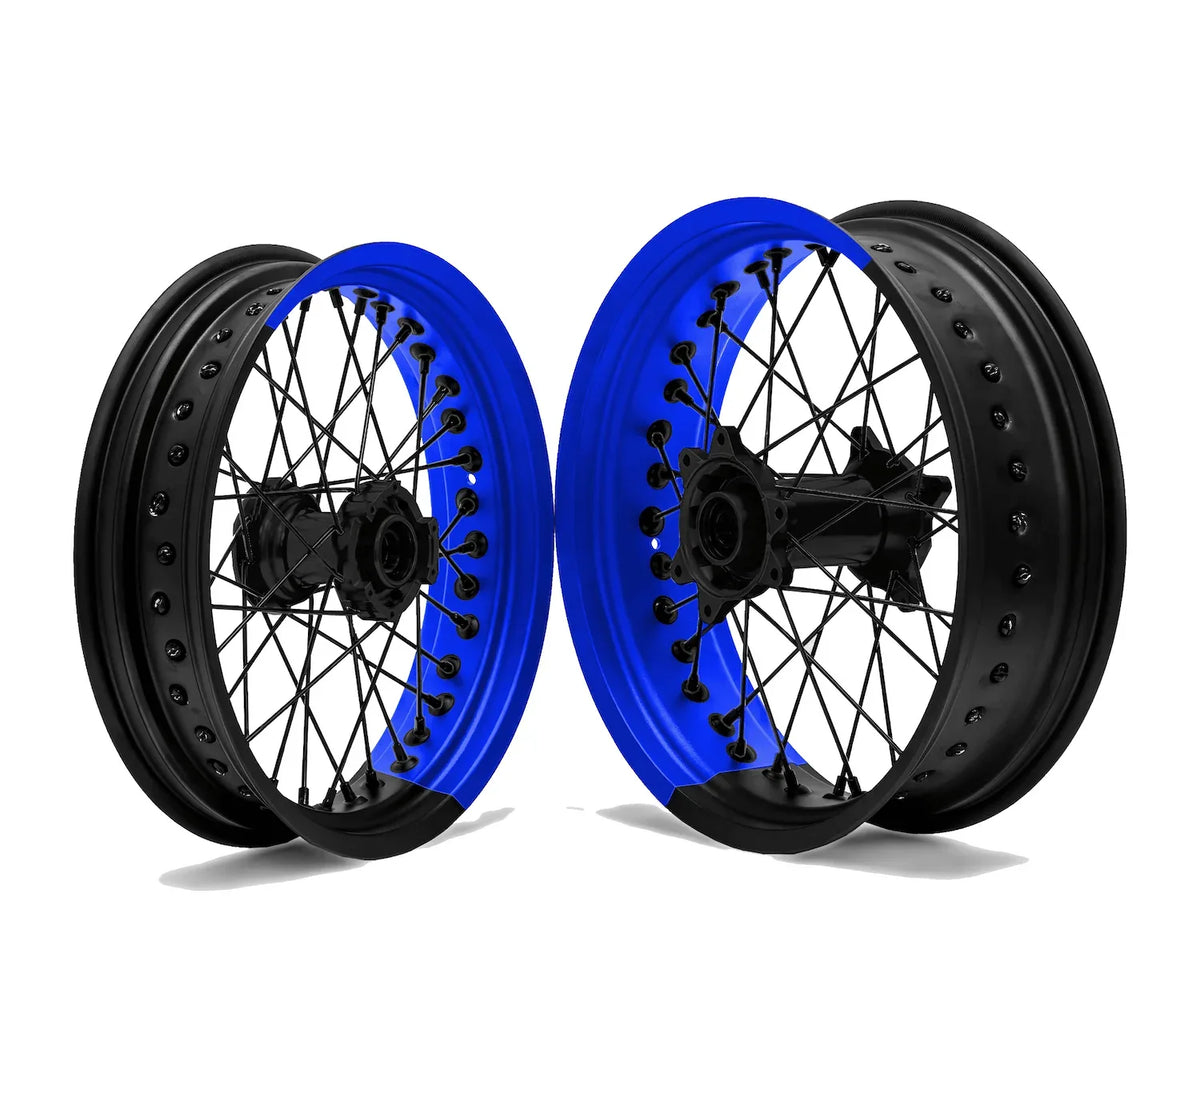
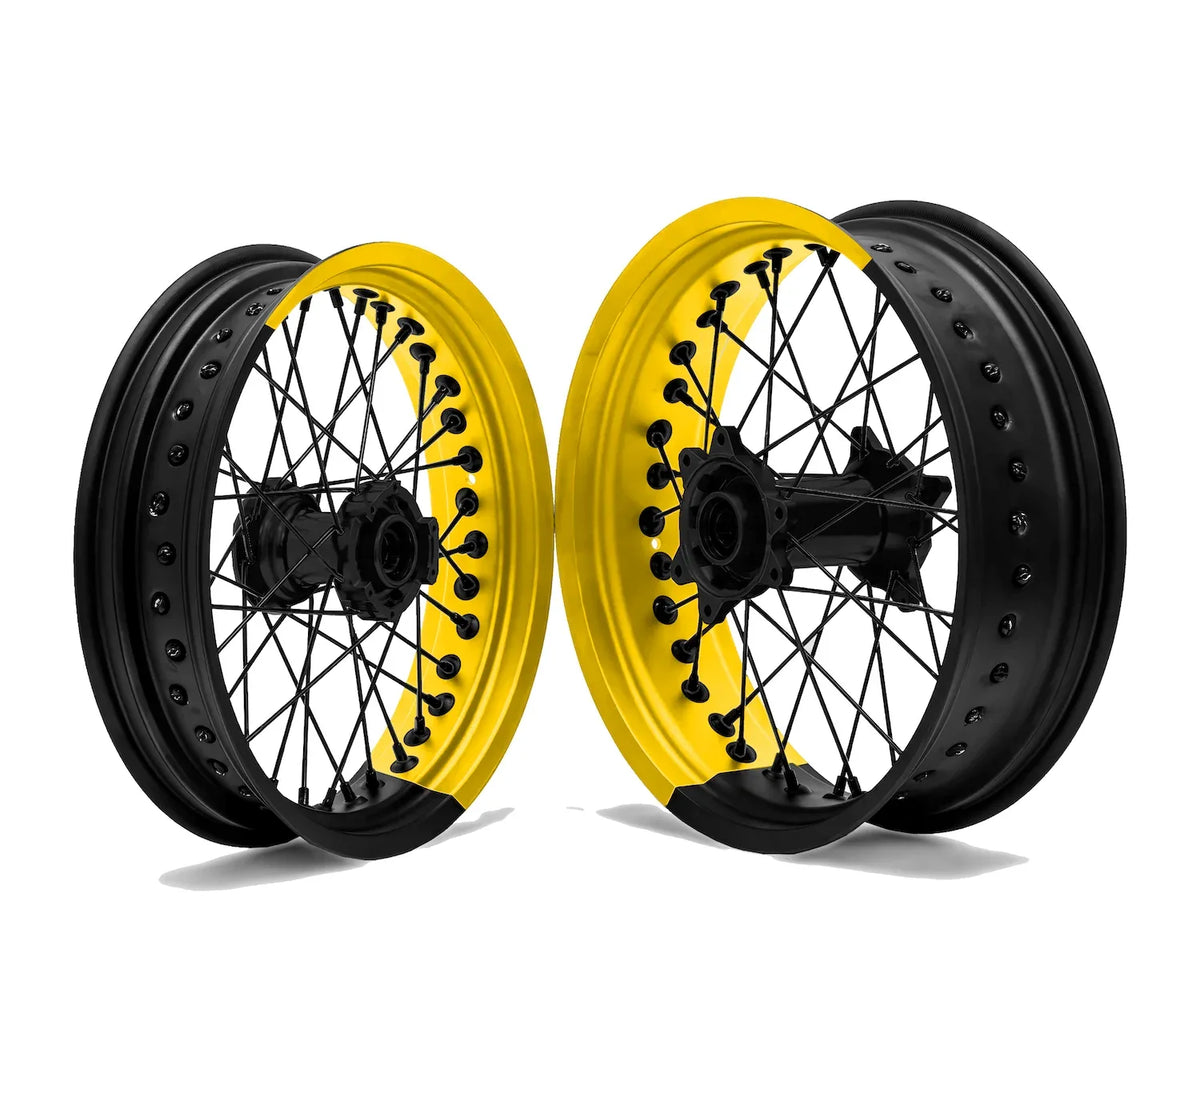
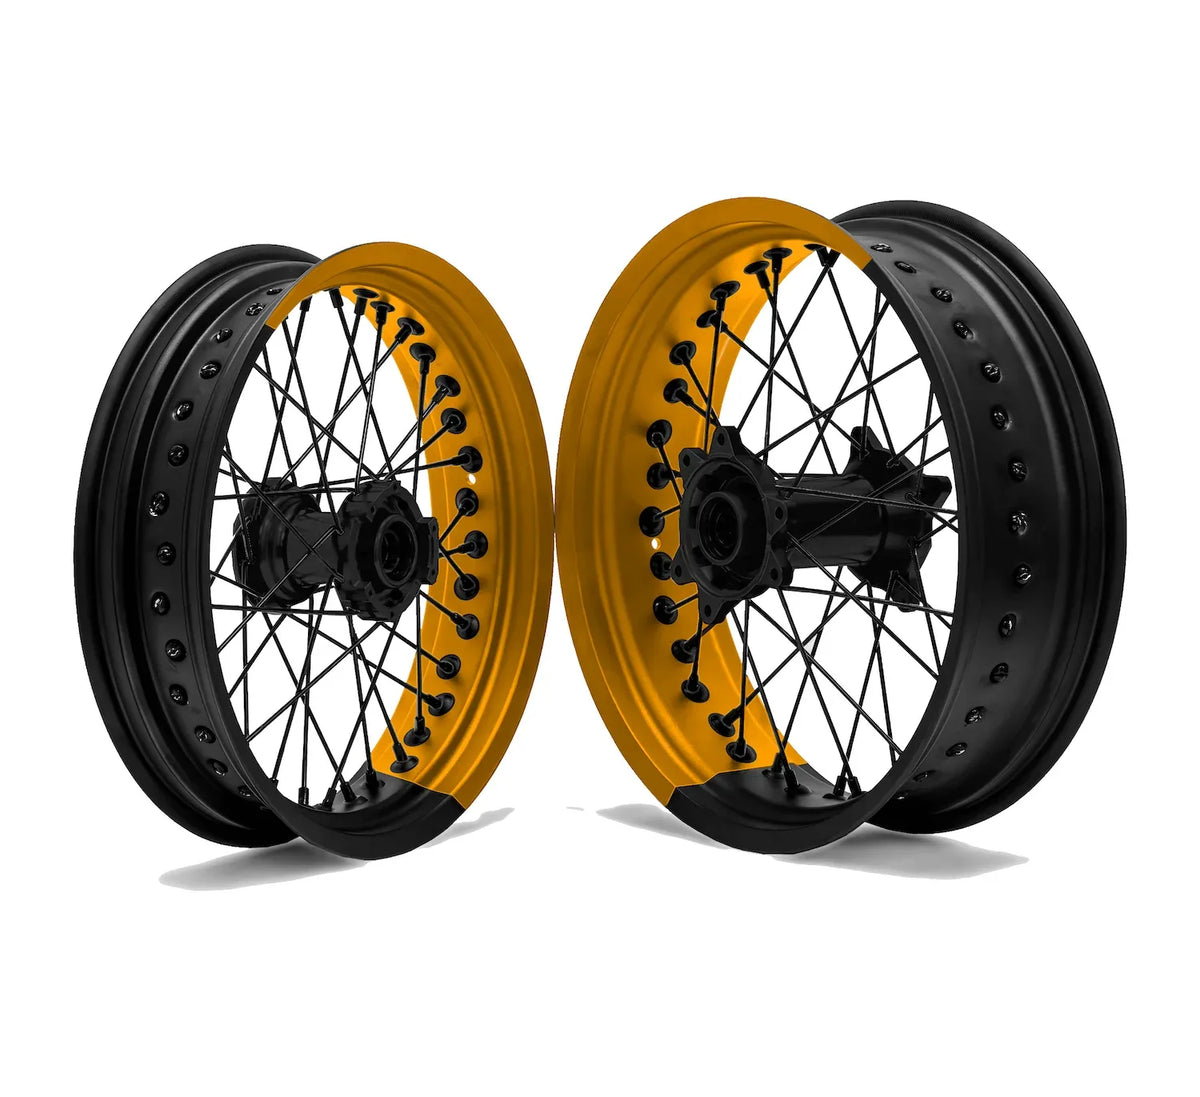
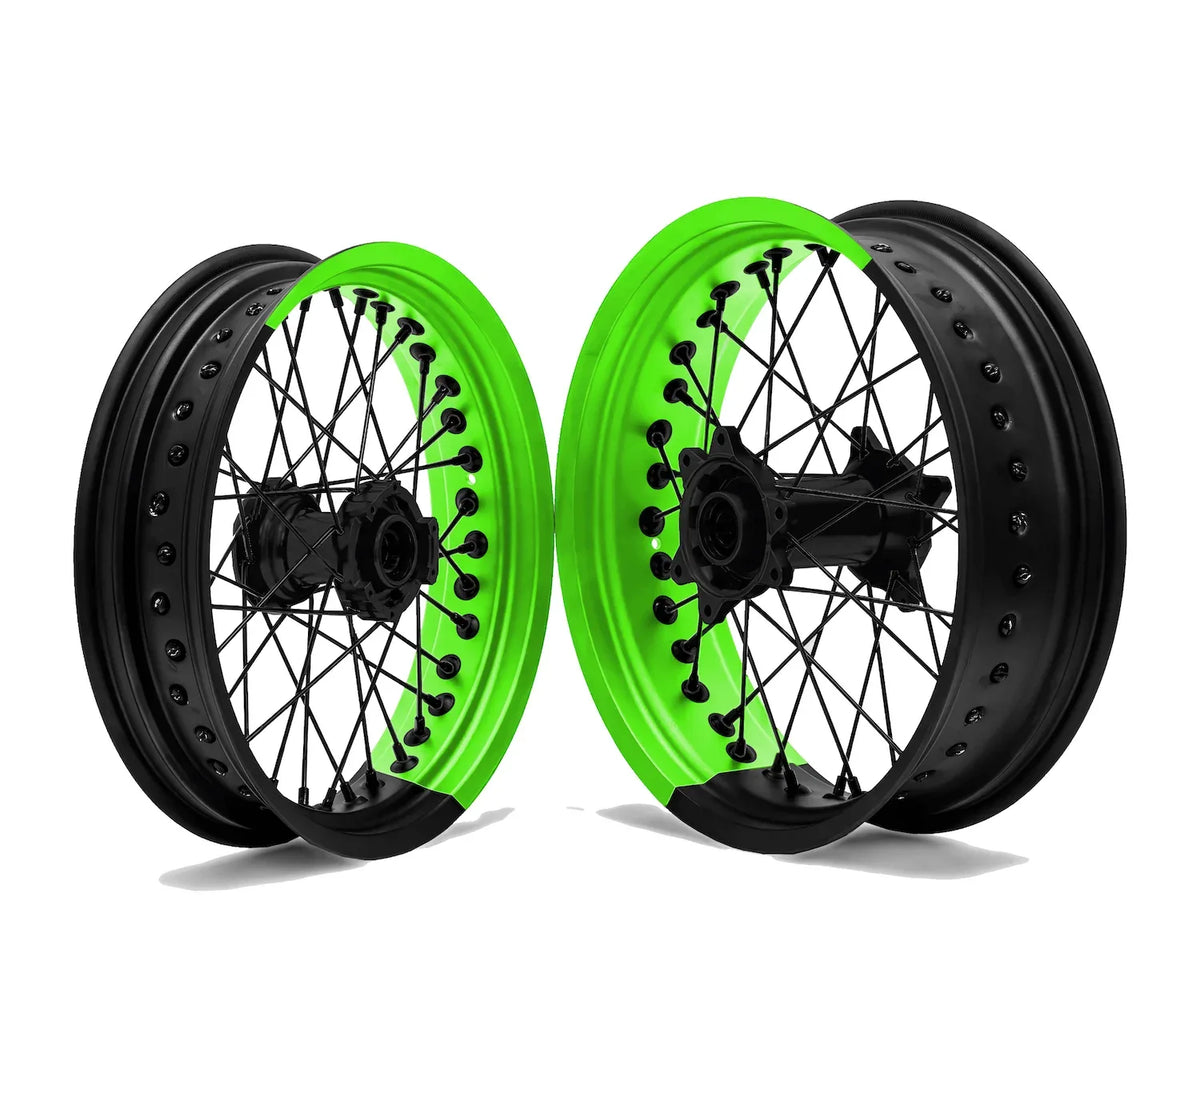
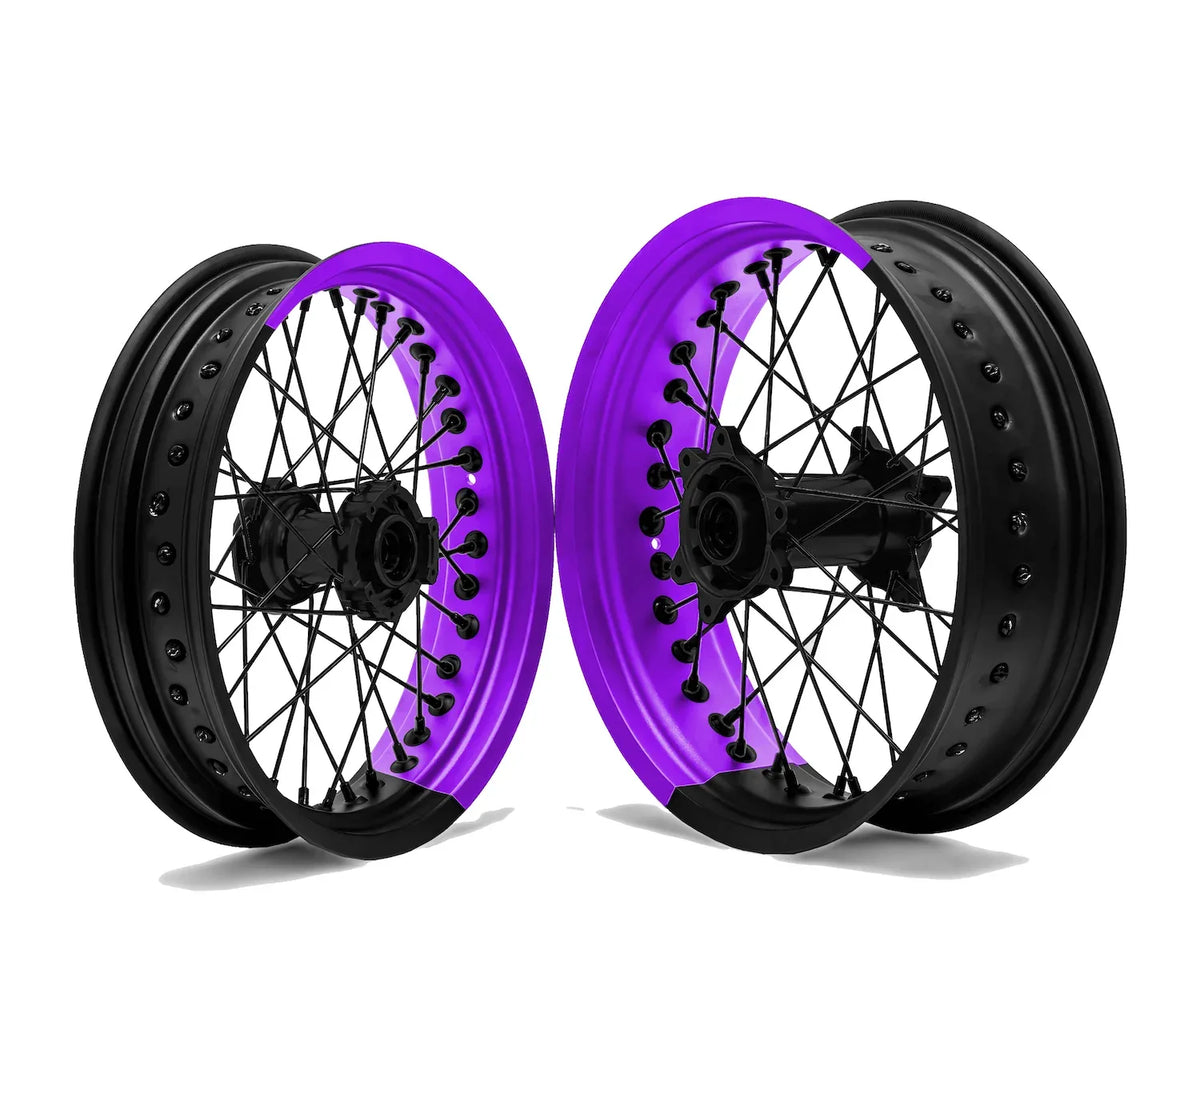
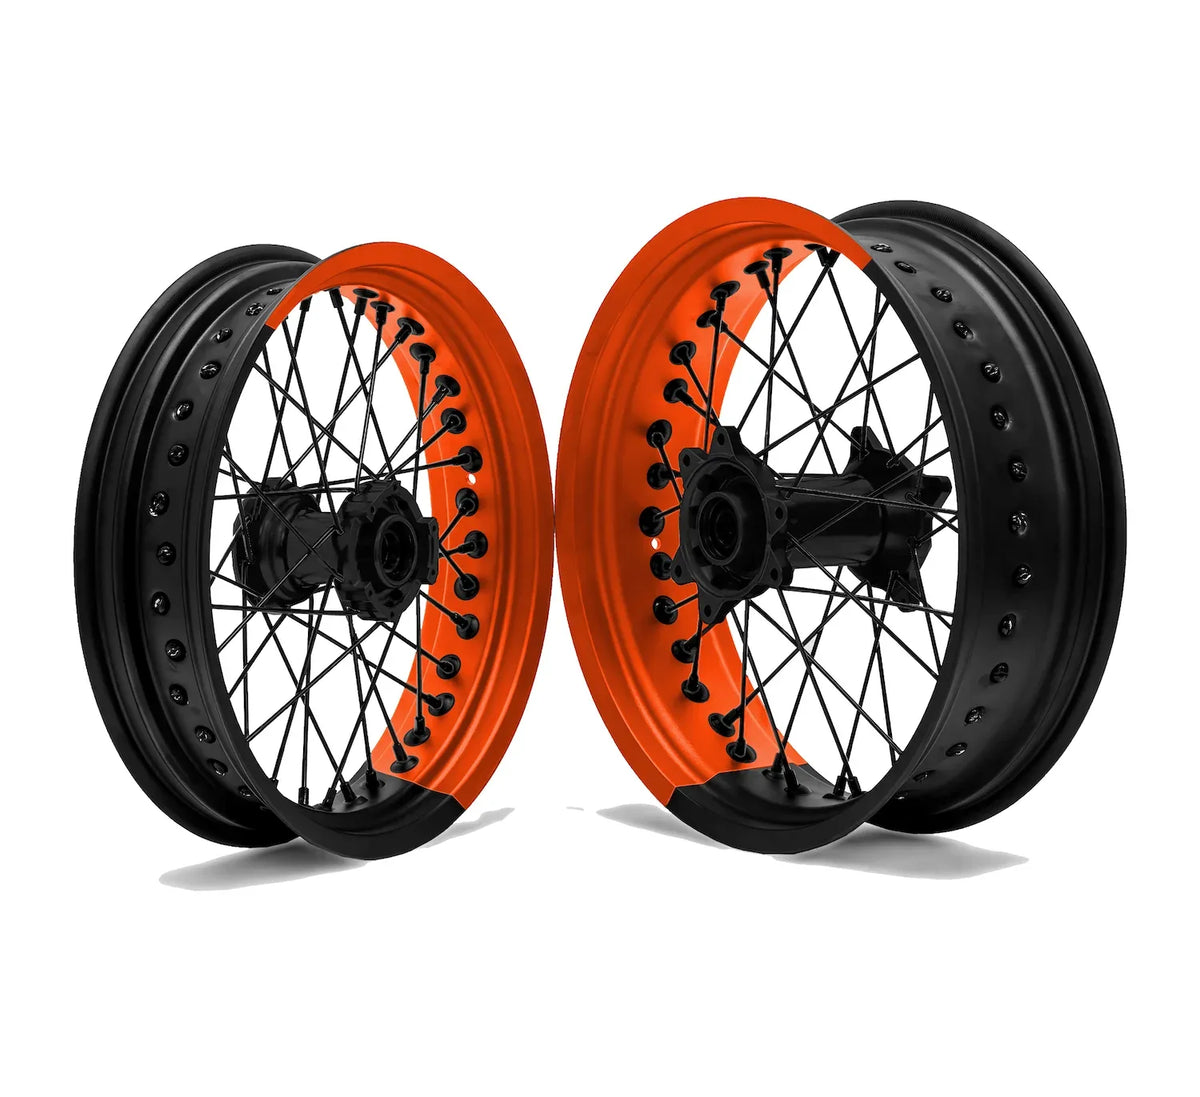
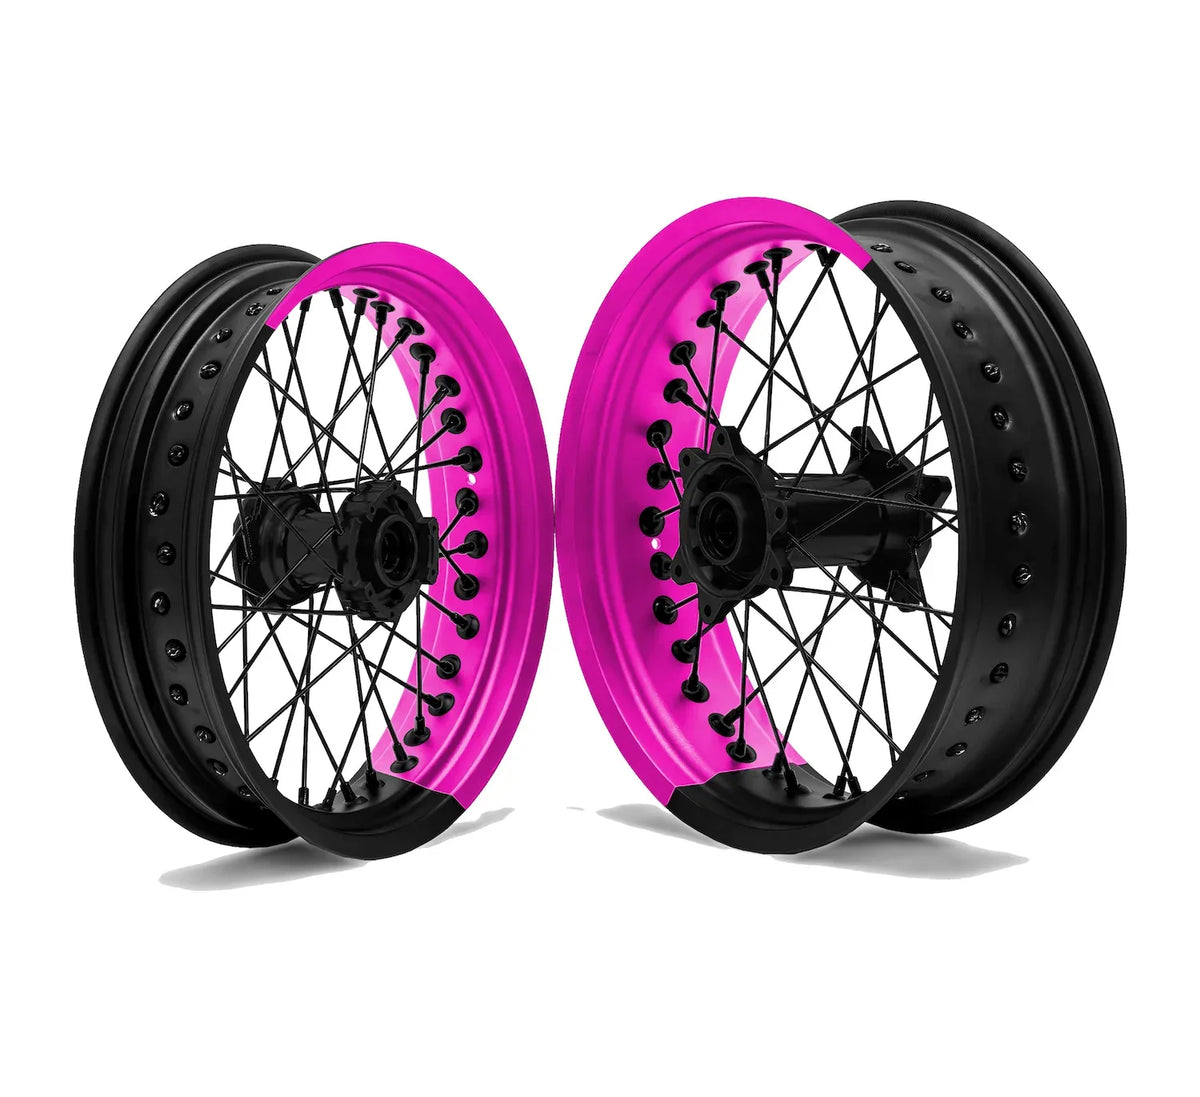
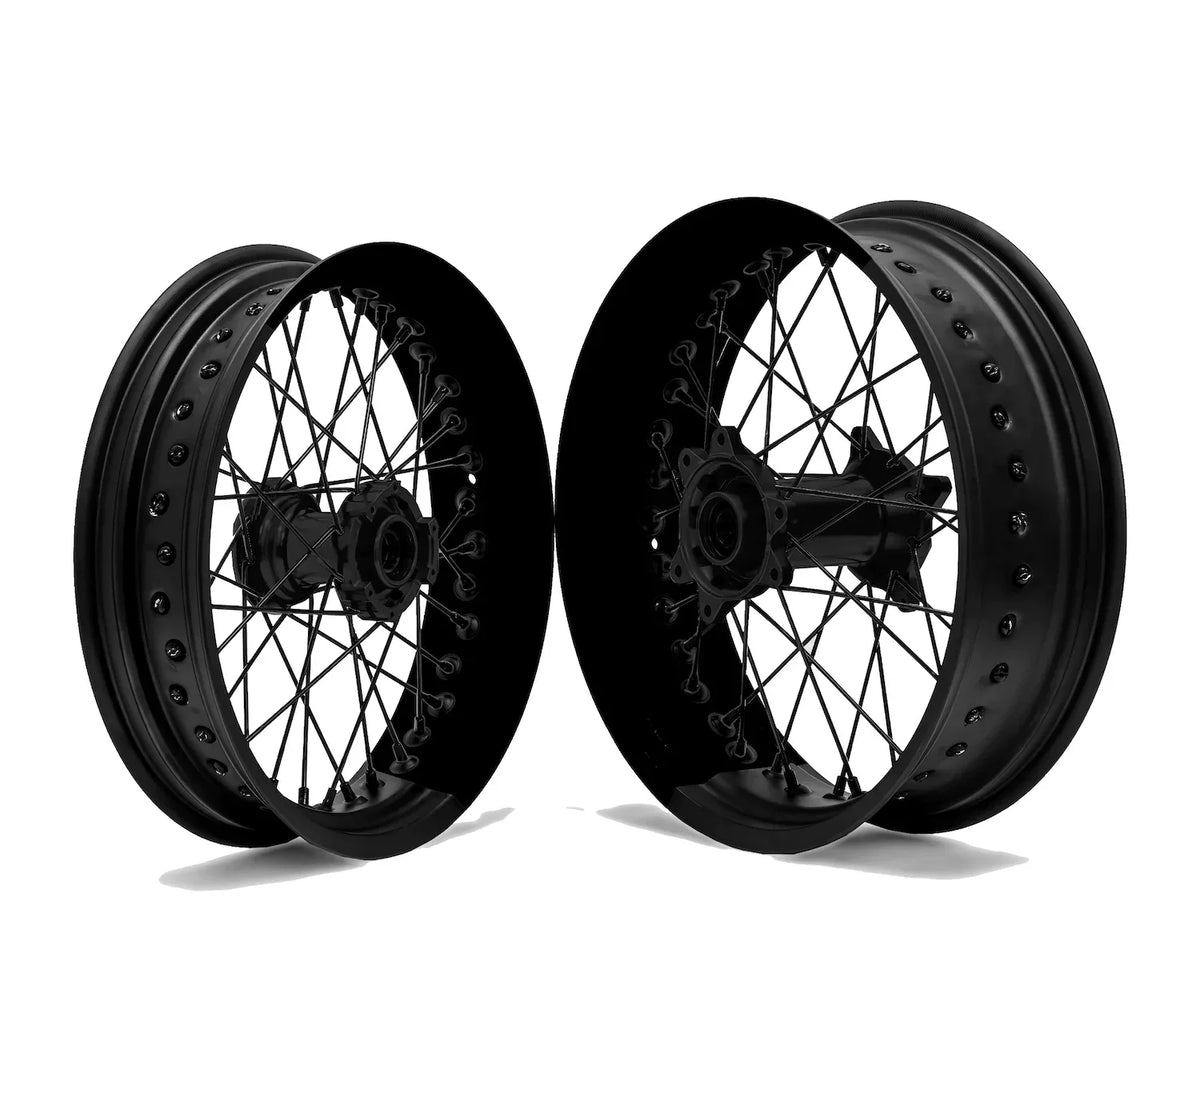
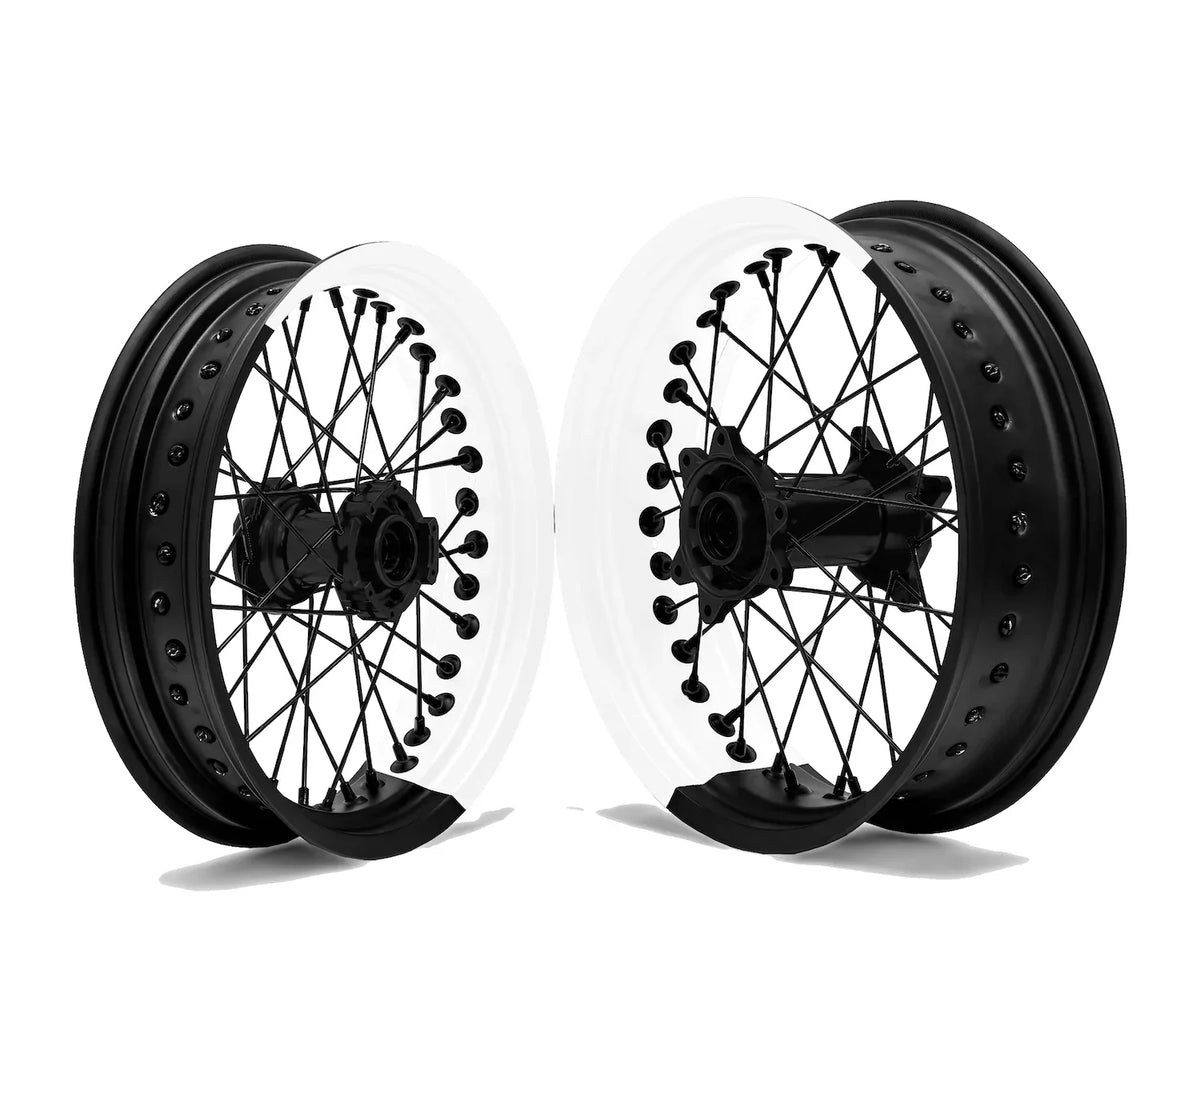
I was skeptical, but it actually looks even better on the motorcycle than on the website. Easy to apply, and the colors really pop.
50/50 Rim Stickers
Wheel specifications
We currently produce the 50/50 stickers only for the rim types listed above. For all other motorcycles, we have 360 Spin rim stickers and rim stripe stickers—they fit almost any rim.
View all motorcycle rim stickersCustomize design
OptionalMaterial
The foundation of your décor – color, effect & durability
The protective film over the foil
With a deposit, the material surcharge is only charged with the balance after you approve the design.
Do you have a question?
We have the answers.
Here you’ll find the most frequently asked questions about our wheel stickers, shipping, and installation. Can’t find what you’re looking for? Contact our support team—we’ll be happy to help you personally.
Contact us!
We’re here for you · Mon–Fri, 09:00–17:00 hrs
Frequently Asked Questions
Product
3 Questions
Order
3 Questions
Shipping
3 Questions
Assembly
1 Question
Product
Yes. Under “Design Customization” above, mention which colors you would like the stickers to be.
Yes, you’ll receive stickers for both the front and rear wheels together.
Order
Normally 1–3 business days. After that, the stickers are shipped directly.
As long as production has not yet started, send us a quick message at support@arider.de.
Unless a change has been made, a return is possible within 14 days.
Shipping
Your package usually arrives within 5–10 business days.
Yes, we ship worldwide. Shipping costs are displayed at checkout.
As soon as your order has shipped, you’ll receive a tracking link by email.
Assembly
1. Clean the rim – Remove grease and dust with brake cleaner or isopropanol.
2. Mark the position – Test-fit the sticker and determine the center and alignment.
3. Partially remove the backing film – Loosen only a small section to fix the position.
4. Apply the sticker – Press the sticker down slowly while gradually removing the remaining film.
5. Press down – Use a squeegee or soft cloth to smooth out air bubbles from the inside outward.
6. Remove the transfer film – Carefully peel it off at a shallow angle.
7. Check – Press down the edges to ensure everything is firmly in place.